

As the summer season starts to drag on, your little ones may start becoming bored. It’s easy enough to provide simple activities and entertainment, but what if you want to keep their minds active and learning as well? Fortunately, there are many activities that can accomplish both. Let’s take a look at some of the top fun and easy science-based activities for kids this summer season.
Chemistry With Tasty Treats
While you may not think of baking a cake or a batch of cookies as educational, it absolutely can be. There’s a lot of science behind baking chemistry, and teaching your child some of that chemistry makes for a fun and educational summer experience. For the experiment, try making several batches of cookies. Explain the chemical reactions that occur when the cookie dough is exposed to heat, and how the amount of each ingredient you use can affect this reaction.
Follow the recipe as written for one batch, then change things up for the other batches. Try adding a bit of extra flour, using an extra egg, increasing or decreasing the amount of butter, or swapping certain ingredients out for similar alternatives. Then, observe how the flavor, texture, and appearance of each batch of cookies changes as a result. This will teach your kids some very basic chemistry concepts, and gives them a delicious treat to boot!
Marshmallow Trebuchet

If your child likes building things, why not introduce them to the world of physics? Building a marshmallow trebuchet is one of our favorite preschool science activities, and can be done with components that you most likely have around the house. You’ll need:
- A 2×4 wooden plank
- A pen, pencil, or thin metal rod
- A plastic spoon
- Popsicle sticks
- A small cup hook
- Rubber bands
- Superglue
- Jumbo marshmallows
Start by supergluing popsicle sticks to the long sides of the plank. You only need one on each side, but may want to add more for increased stability and durability. Drill a hole through the tops of each popsicle stick, ensuring that the holes are at an even height with each other. Put the pencil through this hole. Tape the spoon to the pencil by the end of its handle. Drill the cup hook through the end of the plank. Then, attach a rubber band to the cup hook and stretch it to the spoon. Once the rubber band is fixed between the hook and spoon to create tension, just put a marshmallow on the spoon, push the spoon down with your finger, and let go to fire the trebuchet.
Dyed Carnation Experiment
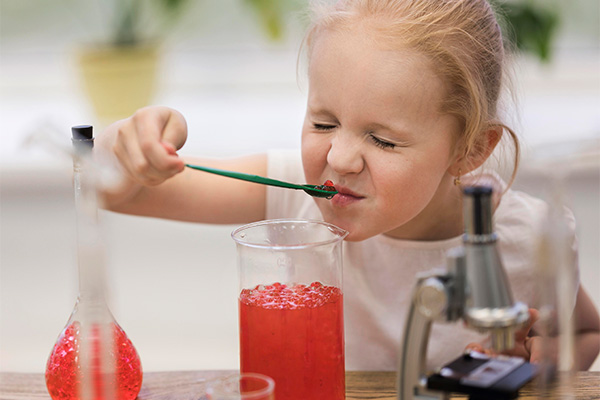
You may remember this preschool science activity from your own childhood, and it’s still as good of an experiment as ever. Plus, it’s super cheap to set up, so you can teach your kids some fun and interesting lessons without breaking the bank. You’ll need:
- 6-12 white carnations
- One small vase or tall drinking glass per carnation
- Several varieties of food coloring
Fill each glass with water, and put enough food coloring in the water to reach your child’s desired color. Use a different color for each glass. Then, trim the stems of the carnations slightly to allow for more water absorption. Place one carnation in each glass, and wait several days. Take a picture of the carnations each day to track the changes. After several days have passed, your child will notice that each carnation is taking on the color of the water in its respective vase.
This is because of something called capillary action. Carnations absorb water through their stems, distribute it throughout the petals, and allow that water to evaporate from the petals. Normally, we can’t see this process happening, but because the water is dyed, the dye shows up in the white flowers. It’s a fascinating concept that can be observed with a very simple experiment, so give it a shot!
Growing Your Own Crystals
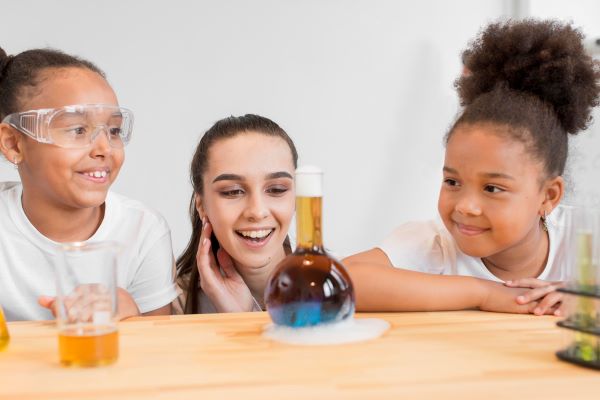
Believe it or not, crystals aren’t just something that develop underground over thousands of years. With a bit of know-how and some household ingredients, you and your kiddos can make crystals at home in just a few weeks! For this experiment, you’ll need:
- Clear plastic cups
- A pencil
- Thin twine or thread
- Salt or sugar
- Distilled water
- Food coloring (optional)
- A glass or jar
Setting up the experiment is extremely easy! Heat your water to just below boiling. Then, add your salt or sugar and stir to dissolve. Continue adding salt or sugar until they no longer dissolve in the water. If you’d like, add some food coloring to the mixture at this point. Then, pour the mixture into your glass or jar. Tie your thread to the pencil, and put the pencil on the mouth of the glass or jar, ensuring that the thread reaches the bottom of the container.
Wait a few weeks and take pictures over time. You’ll notice that the salt or sugar in your water mixture forms solid crystals on the thread!
Looking for more great tips, tricks, and products to keep your child’s mind active over the summer? Feel free to visit our site at ToysCentral today!